
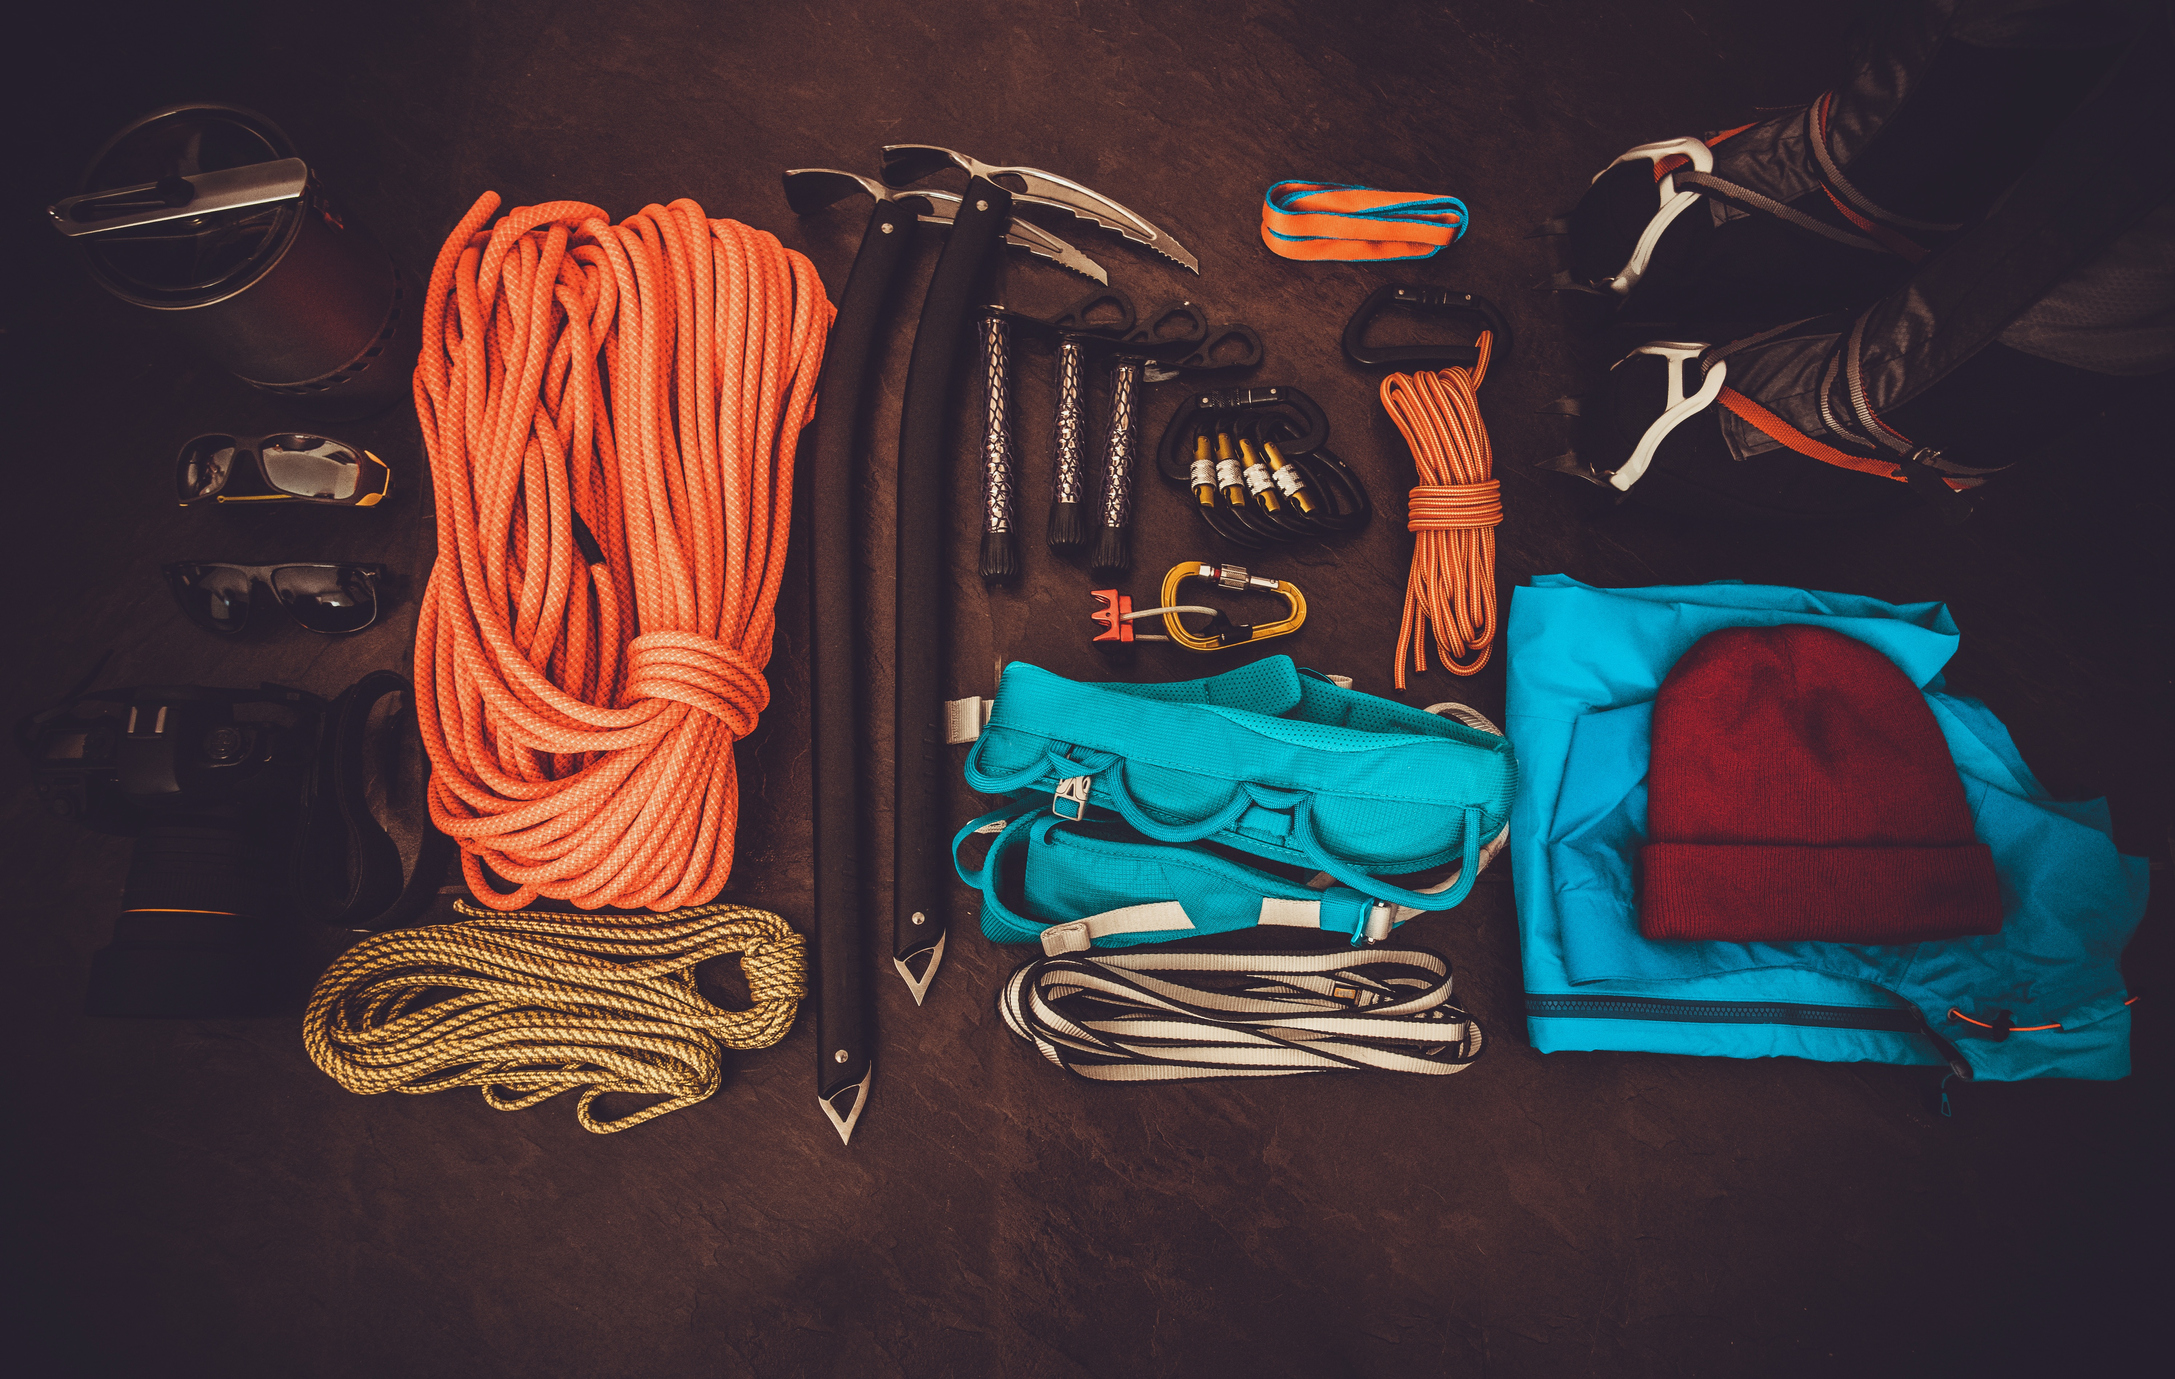
Our Rock Climbing workshops are highly technical, and we pride ourselves in providing a level of training well beyond others that claim to offer similar training. The content of these workshops can seem a bit overwhelming for both novice and experienced climbers alike. With that in mind, we’d like to help you prepare for the workshop by providing you with some study materials in advance.
*NOTE*
These study materials won't replace workshop content, but your review in advance will greatly improve your preparedness and understanding of the concepts and application during the workshop.
BE GOOD HUMANS…
If we can all agree to be good humans in advance, then we can shave a good 15-20 minutes off of our morning discussion. Here’s what I need each of you to agree to…
Don’t trash the place.
Don’t chip, paint, or otherwise damage the places that we climb.
Share the crag
Don’t hog routes, share them whenever possible. If you feel comfortable sharing ropes, you will make friends.
Children are present
Please keep the profanity to a minimum.
Stay organized
Don’t be a junk show!
Please keep your things organized this weekend, and always, when at the crag.
Do not spread your gear across the trail or empty the contents of your bag at the base of the crag.
Staging Area vs. Climbing Area
The climbing area is for the climber and belayer, and the rope.
The staging area is for everything else.
Individuals that are NOT actively climbing or belaying.
Eating lunch.
Storing backpacks, water, extra gear, etc.
The staging area should be out of the way of other people wanting to utilize the park (climbing, hikers, cyclists, etc.).
Be kind.
TECHNICAL INFO
Climbing gear strength is rated in KiloNewtons (kN), which is a force rating. Therefore its important to have a method of relating kN’s to a format that’s more familiar to us, which is pounds (lbs).
1 kN = 224.8 lb/f (that’s pound/force)
Therefore, a carabiner that has a spine strength of 24kN = 5,395.2 lb/f.
And, a nylon sling that has a strength of 22kN = 4,945.6 lb/f.
The strength of your climbing equipment can be quickly decreased if used inappropriately or if a knot is tied in the fabric.
For example:
A cross-loaded carabiner loses over 66% of it’s strength.
A carabiner with an trapped, open gate loses over 66% of it’s strength.
A figure-8 knot decreases the strength of a nylon sling by approximately 25%.
An over-hand knot decreases the strength of a nylon sling by approximately 40%.
IT’S EASY TO BREAK YOUR CLIMBING EQUIPMENT WHEN USED INCORRECTLY
Here’s a link to that demonstrates failure points of different climbing equipment when used incorrectly, risking your life, or your partner’s life.
Black Diamond Equipment research on gear failure, covering slings, cams, stopper nuts, etc.
CARABINERS
There seems to be an endless number of options out there when purchasing a carabiner. That said, there are some basics in terms of their design for specific functions. As our technology and understanding of rock climbing forces becomes more clear, engineers have been actively designing new carabiners to solve problems. However, in true human being style, every time we solve one problem, we seem to create a new one. More on this idea during the workshop…
Here are some basic shapes and designs for carabiners.
Shape
Oval
+ Good for racking gear like stopper nuts (multiple pieces of gear on one carabiner)
Pear Shape
+ Provides a wide basket (work space) which reduces friction between the rope and carabiner.
- Easy to accidentally tri-axiel load, which decreases the strength of the carabiner by over 80%
D-Shape/Off-Set D-Shape
+ Forces the rope along the strongest axis of the carabiner (the spine).
+ Makes it difficult to accidentally tri-axiel load the carabiner.
- Increases friction between the rope and the spine by creating more contact points between the rope and carabiner.
Design
Round Stock
+ The rounded surface decreases friction with the rope, making it ideal belaying/rappelling.
- Often heavier than other designs. The rounded nature of the carabiner requires more material to achieve the same strength of other designs.
I-Beam
+ Light-weight and very strong
- Increases friction by creating a flat bend around the carabiner.
Not ideal for applications where the rope will move around the carabiner under tension (i.e., when belaying, or top-rope climbing).
Not ideal for clove or munter hitches.
Combination Round Stock with I-Beam
Blends the two designs to achieve a compromise of strength to weight while trying to decrease friction.
- Not quite as light/strong as a true I-Beam, but often lighter and stronger than a true Round Stock.
- A little more friction than a true round stock, but less than a true I-Beam.
HELPFUL LINKS TO UNDERSTAND WHY SO MANY CARABINERS
S.E.R.E.N.E. ANCHORS
There are many acronyms for describing and analyzing rock climbing anchors. During our Tier 1 and Tier 2 workshops, we analyze our anchors using the acronym S.E.R.E.N.E. Please take a few minutes to review the concept of S.E.R.E.N.E. anchors here.
ROCK CLIMBING ANCHORS THAT YOU WILL BE LEARNING THIS WEEKEND
While there are books available that publish hundreds of different anchors, in this workshop we’re going to be focusing on the anchors described here. These anchors will cover about 95% of your climbing anchor needs. Please spend a few minutes looking over them. We’ll get hands-on and take an in-depth view of these anchors to determine their strengths, weaknesses, and when to apply them.
THE RESCUE DRILL
You’ll be learning a 4-part rescue drill during this workshop. This article will help you anticipate the concepts covered in the drill.